
How to Iron Cotton for a Crisp, Professional Finish
- Phuong Nguyen

- Aug 23
- 9 min read
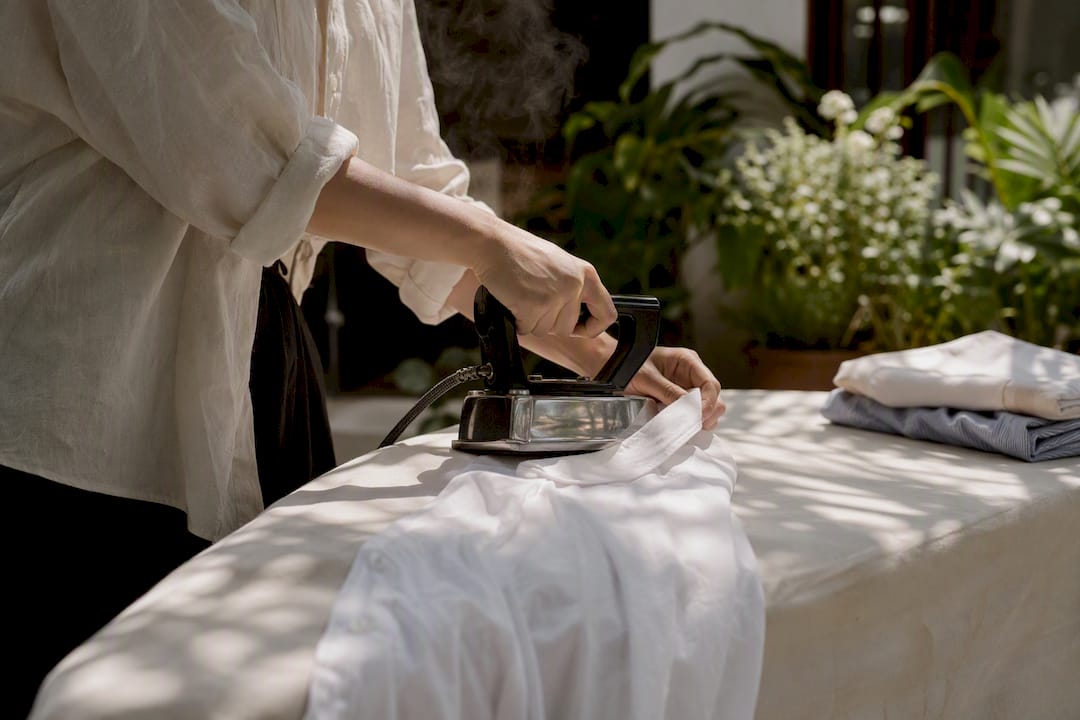
Yes, cotton can and should be ironed. Set the iron to its “cotton” or high setting, use steam or a slightly damp garment, and let the plate reach full temperature before you start. Fabric-care experts and temperature guides agree ironing gives cotton a sharper finish than steaming alone.
Test heat on an inside seam first.
Use the cotton/high setting with steam.
Let the iron stabilize for a minute before pressing.
Key Takeaways
Ironing cotton correctly comes down to matching heat, moisture, and stroke technique to the fabric’s weight and color, not to how long you press it.
Point | Details |
Use the cotton setting | Set the iron to cotton/high, around 180 to 204 degrees Celsius, and let it stabilize before pressing. |
Keep it slightly damp | Iron damp fabric or mist dry cotton, and favor a steam iron over a dry one. |
Follow the pressing order | Work collar, cuffs, sleeves, shoulders, front, then back to avoid rewrinkling finished sections. |
Protect dark and delicate cotton | Turn dark garments inside out and use a pressing cloth on prints or embellishments. |
Cool before you pack | Hang pressed garments to cool fully so the fibers set before folding or storing. |
Table of Contents
How to Iron Cotton: Choosing the Right Iron and Settings
A steam iron does the job better than a dry one. Steam relaxes the fibers as heat flattens them, which is why continuous steam output at moderate levels is considered effective for wrinkle release on cotton. A dry iron working alone has to rely on brute heat, and that’s how scorch marks happen.
The “cotton” setting on most irons corresponds to roughly 180 to 204 degrees Celsius, close to the 400 degrees Fahrenheit mark that fabric charts commonly list for cotton. Push past that range and you risk yellowing or a permanent shine. Give the iron a full minute to stabilize after you set the dial. A plate that hasn’t caught up to its target temperature presses unevenly, and you’ll find yourself going over the same spot twice, which is its own kind of damage.
Wipe the soleplate clean before you start. Residue transfers onto light cotton instantly.
Keep a spray bottle nearby for dry garments; a light mist does the same work as a damp fabric.
Use the steam-boost button on stubborn creases instead of pressing harder.
Pro Tip: If your iron doesn’t have a strong steam function, mist the fabric first and let the dampness do the work the steam would otherwise handle.
How Do You Prepare a Cotton Garment Before Ironing?
Skipping prep is where most ironing mistakes actually start, not at the ironing board itself.
Check the care label. Some cotton blends run cooler than pure cotton and scorch at settings that are perfectly safe for the real thing.
Test an inconspicuous spot, like an inside seam or hem, before you commit to the whole garment.
Iron while the fabric is still slightly damp from the wash, or mist it evenly with a spray bottle if it’s already dry.
Treat any stains before you iron. Heat sets stains permanently, turning a washable mark into a lasting one.
Clear your workspace: a clean soleplate, a sturdy board, and a plan to press lower-heat fabrics before you move to heavier cotton pieces.
Step-by-Step Technique for Ironing a Cotton Shirt
Professional pressers work in a fixed order for a reason: collar, cuffs, sleeves, shoulders, front panels, then back. That sequence matters because pressing the collar and cuffs first means you never risk crushing an area you already finished. Skip the order and you’ll flatten the back, move to the front, and rewrinkle the back in the process of shifting the garment around the board.
Collar. Open it flat and press from the points inward, working both sides. Flip and repeat on the underside.
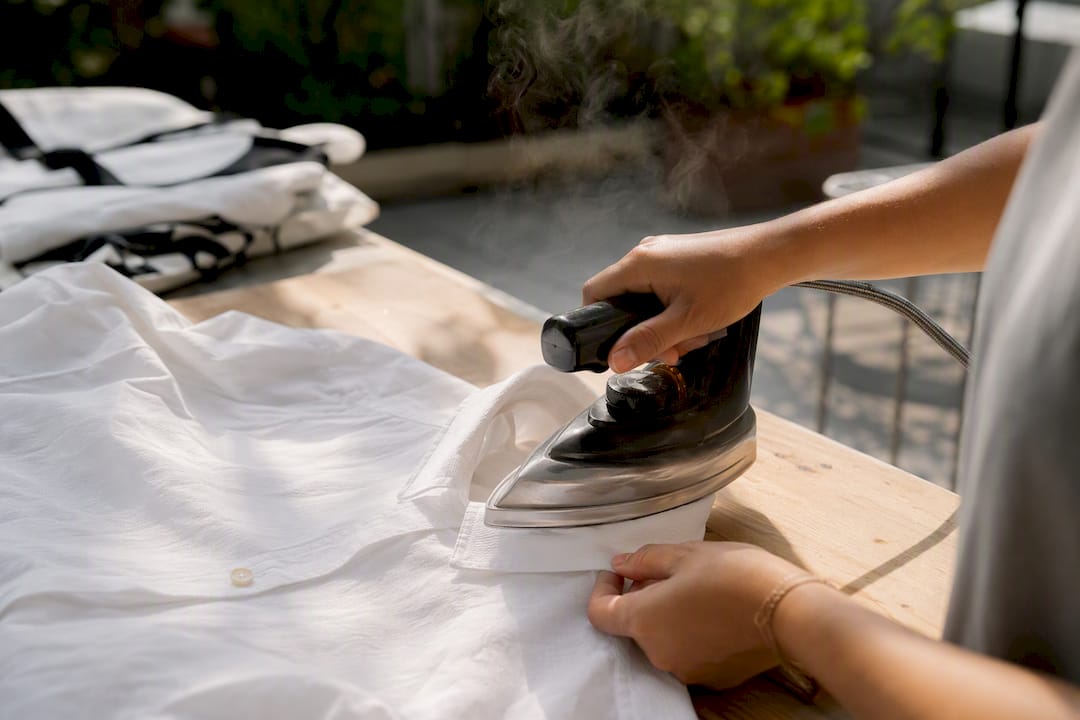
Cuffs. Unbutton them fully and press from the inside first, then the outside, following the same straight, slow strokes.
Sleeves. Lay each sleeve flat along its own seam, not the side seam, so you don’t press a second crease into the fabric. Slide the board’s narrow end into the sleeve if you have one; it keeps the top layer from bunching.
Shoulders and yoke. Use the curved end of the board to press the yoke without folding it, since a folded yoke leaves a crease that’s hard to remove later.
Front panels and placket. Iron around each button rather than over it. Pressing directly on a button can crack it or leave an indentation in the fabric beneath.
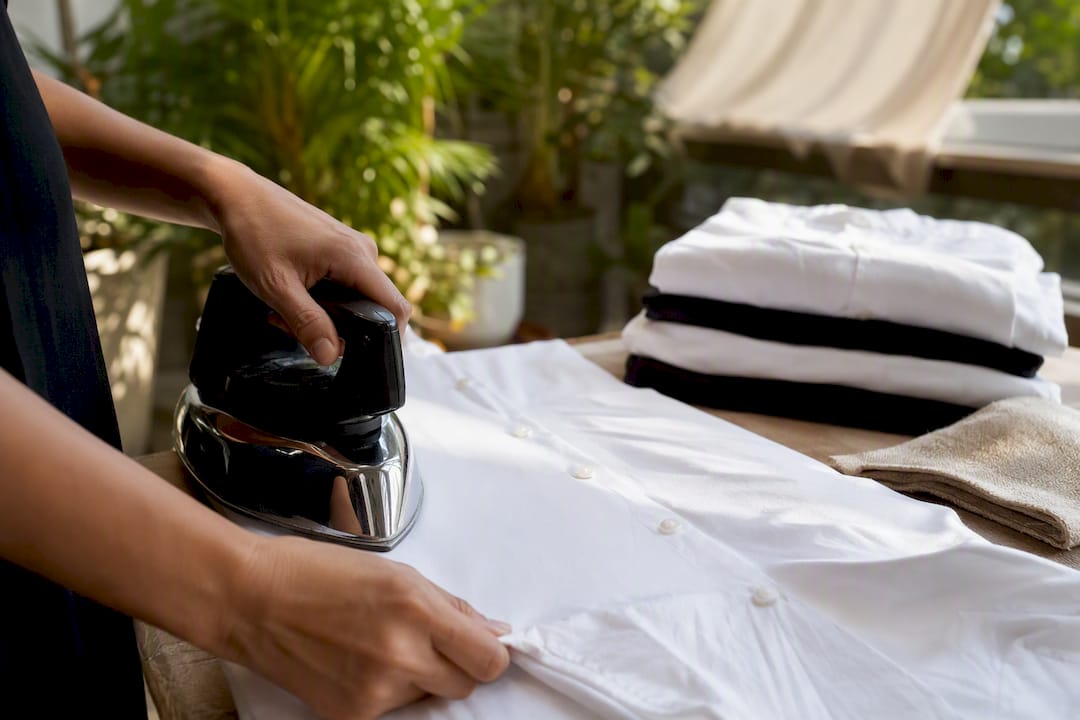
Back. Save the largest, flattest panel for last, when you’ve got the most room on the board and nothing left to distort.
Throughout, professional pressers recommend straight, slow, firm strokes rather than circular ones. Circular motion stretches the grain of the fabric in ways a straight stroke never does, and cotton holds that stretch once it cools. If you hit a stubborn crease, a short burst from the steam function usually clears it faster than pressing harder.
Collar
Cuffs
Sleeves
Shoulders and yoke
Front panels and placket
Back panel
Pro Tip: Fold each sleeve along its own seam line before pressing. It’s the single easiest way to avoid a second, unwanted crease running down the arm.
How Do You Avoid Scorching, Shine, and Shrinking?
Dark cotton is the fabric most likely to show damage, and the fix is simple: turn the garment inside out before you press. Ironing dark colors inside out prevents the shiny, compressed patches that direct heat leaves on the surface fibers. If you’re pressing a printed or embellished piece and you’re not sure how it will react, lay a thin cotton pressing cloth between the iron and the fabric.
Scorching and yellowing almost always trace back to the same mistake: starting too hot instead of working up. Begin on a lower setting, test an inside seam, and only raise the heat once you know the fabric can take it. Most modern irons calibrate their cotton setting to a specific temperature range, and exceeding it is what causes the yellowing people mistake for normal wear.
Not all cotton behaves the same way under heat.
Lightweight cotton, like the fabric in a summer matching set needs less time under the iron and responds well to light steam alone.
Heavyweight cotton and denim can handle the top of the cotton range, or even the linen/max setting, and often need a slightly damp cloth to press through the thicker weave.
Cotton blends should be treated as the more delicate fiber in the mix. If in doubt, iron at the cooler setting.
Shrinkage is a laundering issue more than an ironing one, and Adeirlina’s own guide on preventing cotton shrinkage covers the washing and drying habits that matter most before the iron ever comes out.
When Should You Starch Cotton, and How Do You Finish the Press?
Starch isn’t necessary for every piece, but it does add structure where you want a sharper edge, like a collar or a crisp front placket. Aerosol spray starch is the easiest option for home use because you control the amount with each pass. Liquid starch gives more body but needs to be diluted correctly; oversaturating either type causes flaking once the fabric dries, and that flaking rubs off on dark clothing nearby.
Hold the can 8 to 10 inches from the fabric and use short, even bursts.
Let the starched section sit for a few seconds before pressing so it absorbs rather than pools.
Hang the garment immediately after ironing so the fibers set in their new shape while cool.
Skip starch entirely on soft, adjustable pieces meant for easy wear, like a lightweight matching set where the appeal is the drape rather than a stiff structure.
Pack pressed cotton by folding along its natural seams to avoid new creases forming in transit.
What Makes Adeirlina’s Cotton Pieces Easy to Care For?
Gentle heat and the right amount of moisture do more for a garment’s lifespan than any amount of force. That’s the same principle behind Adeirlina’s guidance on cotton outfits built for hot weather: breathable cotton holds its shape longest when it’s treated with a light hand, not a heavy one. A matching set with an adjustable, stretchy fit relies on that structural integrity staying intact, wash after wash, press after press.
The fabric that stretches with you all day is the same fabric that needs the gentlest iron. Overheating a soft cotton weave doesn’t just risk a scorch mark. It flattens the very stretch that makes an adjustable set comfortable from a morning market to a late night out.
Our guide on the best cotton summer dresses for travel walks through the same low-heat, high-steam approach for pieces designed to move from day to night without losing shape.
Press adjustable straps flat, not bunched, to avoid distorting the elastic.
Use steam rather than heavy pressure on stretch panels.
Let every piece cool completely before folding or packing it.
What Safety Precautions Should You Take While Ironing Cotton?
An iron heated to 400 degrees Fahrenheit is a serious burn risk, not just a wrinkle-removal tool, and a few habits keep the process safe from start to finish.
Always iron on a stable, heat-resistant board, never a folded towel on a countertop or bed. An unstable surface can tip the iron, and a hot soleplate against skin or fabric that isn’t meant to be ironed can cause a burn or a fire in seconds. Keep the cord away from the edge of the board where it can catch on a sleeve or a passing hand.
Never leave a hot iron face down or unattended, even for a few seconds. Set it upright on its heel between passes, and unplug it the moment you finish the garment rather than leaving it warming on standby.
Keep water for the steam reservoir at room temperature unless your model specifically calls for distilled or hot water; check the manual, since some steam irons react poorly to tap water buildup over time. Empty the reservoir after each use to prevent mineral deposits that can spit rust-tinted water onto light cotton later.
If you’re ironing near children or pets, treat the board as a no-go zone until the iron has fully cooled. Cotton holds heat briefly after pressing too, so give a freshly ironed collar or cuff a minute before you handle it directly.
What Are the Most Common Mistakes When Ironing Cotton?
Most cotton damage traces back to a handful of repeatable habits, and recognizing them is half the fix.
Starting on too high a heat before testing is the single biggest culprit. It’s tempting to jump straight to the cotton setting’s top range, but working up from a lower temperature after a seam test costs you thirty seconds and saves the garment.
Ironing bone-dry fabric is another common shortcut that backfires. Dry cotton fights the iron instead of yielding to it, forcing you to press harder and longer, which is exactly the pressure that creates shine on the fibers.
Circular or scrubbing motions distort the weave in ways straight strokes never do. It feels intuitive to rub out a stubborn wrinkle, but that motion stretches the grain and cotton doesn’t spring back the way synthetic blends might.
Ironing dark cotton right side out invites glazing you won’t notice until the garment’s already cooled and the shine has set in. Turning it inside out takes seconds and eliminates the risk entirely.
Skipping the soleplate check is a quiet one. A plate with old starch residue or scorched fiber buildup transfers grime onto the next light-colored piece you press, no matter how careful your technique is otherwise.
Folding or packing a garment before it’s fully cooled undoes the press almost immediately, since the fibers haven’t had time to set in their new shape.
Why Technique Matters More Than the Iron You Own
The conventional advice on ironing cotton spends too much time on the iron itself and not enough on sequence and moisture, which matter more than wattage or brand. A $30 iron used with the right stroke order and a slightly damp shirt will outperform a premium model wielded carelessly.
What gets underestimated most is moisture control. People either skip it entirely and fight a dry, stubborn fabric, or they oversaturate and end up steam-pressing water into a wrinkle instead of out of one. The right amount is subtle: a light dampness you can feel but not see soaking through.
For a lightweight cotton matching set designed to move from a market stroll to a sunset dinner, the priority should be gentleness over speed. Press once, correctly, at the right temperature, and let the garment cool before you wear it or pack it. That single habit preserves the stretch and shape that make an adjustable piece worth packing in the first place.
Sources
Recommended